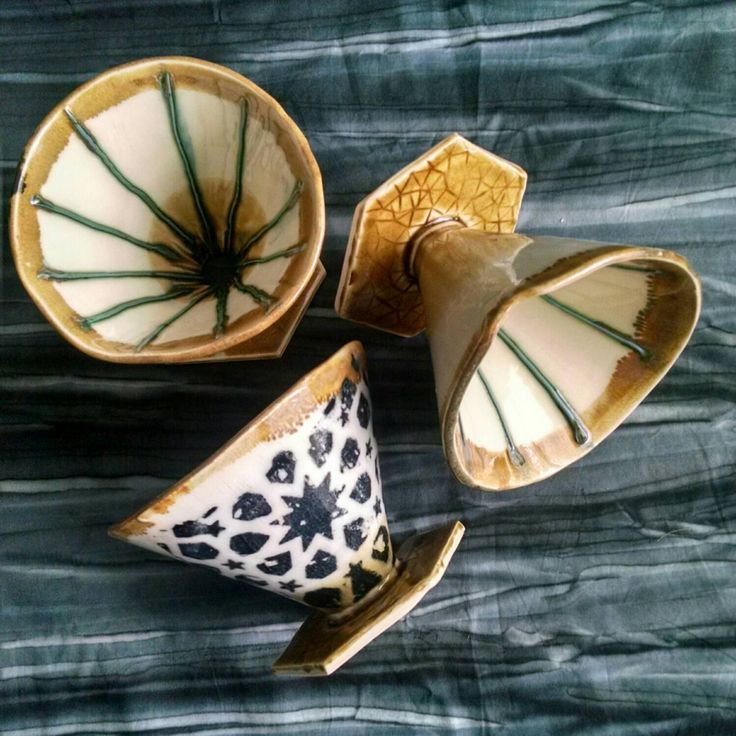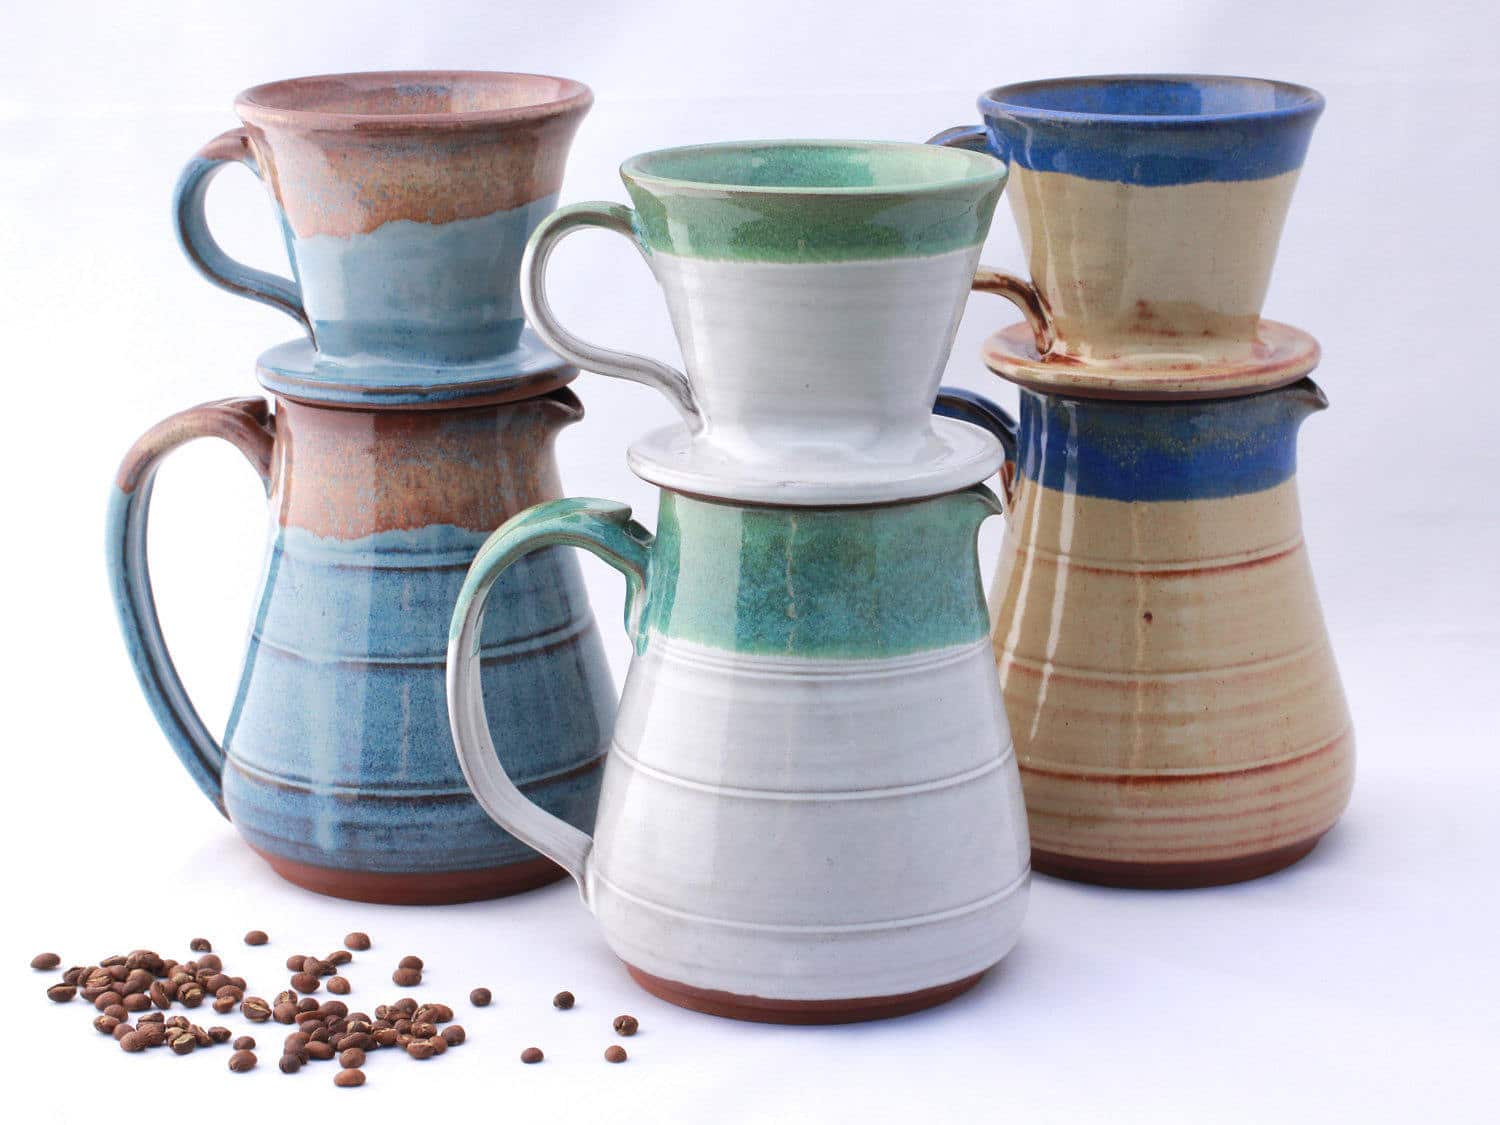
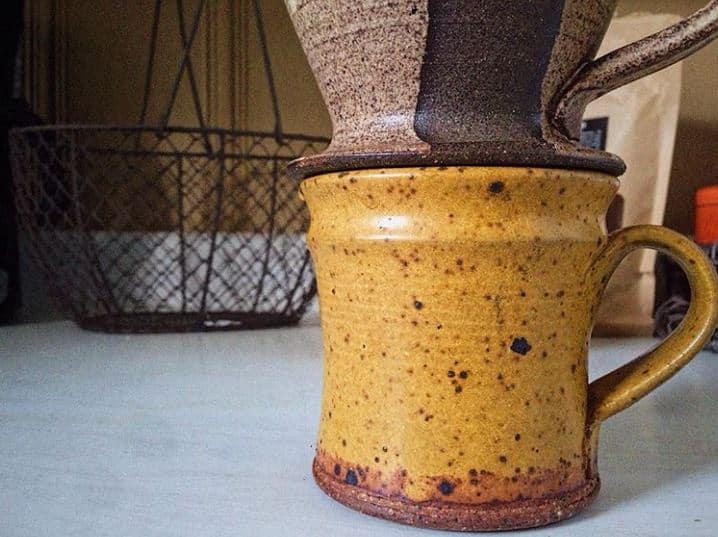
When was the last time you walked into your favorite local coffee shop, and took a look around, and saw just how many ways there really are to make a cup of coffee? It seems that with each passing year, there is a new method to brew your morning pick me up. Of course you have the ever classic drip, the bold espresso machine with its milk frother, you have French Presses, Cold Brews, Aeropresses, and if you’re feeling up to attempting the Walter White of coffee makers, the Siphon. However, among all of these methods, there is one that you can make in your own studio; it stands out as one of the most simple and yet refined coffee brewers: The Pour Over. The way this piece of coffee brewing genius works is the funnel of the pour over holds a filter and coffee grounds while the foot of the pour over rests on top of your mug, at the bottom of the funnel is a small hole that allows coffee to travel from the filter to your cup. Hot water is slowly poured in a circular motion over the coffee until the grounds are saturated, and the water begins to collect at the top of the funnel. The longer steep allows better release of flavors than in your drip maker, and after a moment the sweet coffee bean nectar will flow easily into your mug into a perfect combination of coffee, pottery and love. It works like a drip brew, feels like pure class, and gives you complete control. To make your own, I’ve made a short How-To that will help you be brewing in no time.
Things you’ll need:
- 1.5lbs Clay
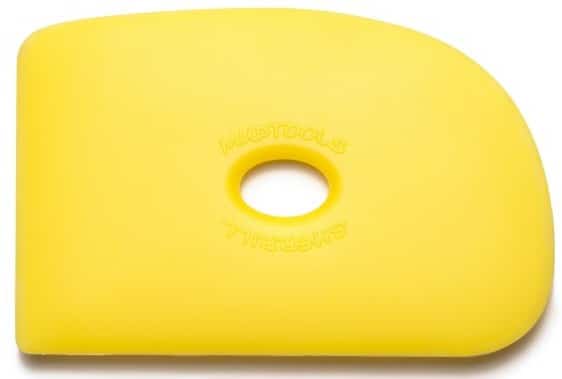
- Sherril Mud Tools Y2 Rib
- Xiem XST 08 Clean Up Tool
- Sherril Mud Sponge
- Sherrill Do All Tool
- Cut Off Wire


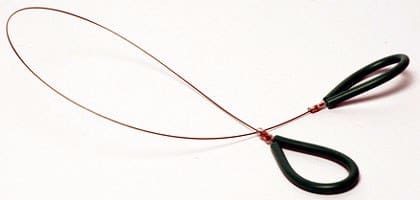
Difficulty Level: Moderate
Step 1:
Prepare your work station. Get your tools set up within easy reach and make sure your throwing bucket is full of fresh water.
Step 2:
Wedge your clay. You’ll want to start with about 1.5lbs of clay. If you plan to make a couple, or need a few practice ones, go ahead and make a few extra.
Step 3:
Begin centering your clay. I like to use a throwing sponge when I work on the wheel. It helps keep things wet, gives me control, and it minimizes finger marks. Work with even, steady pressure to get your clay centered into a hockey puck shape. Once centered, open up (not too far!) and leave 1/2″ of clay on the bottom.
Step 4:
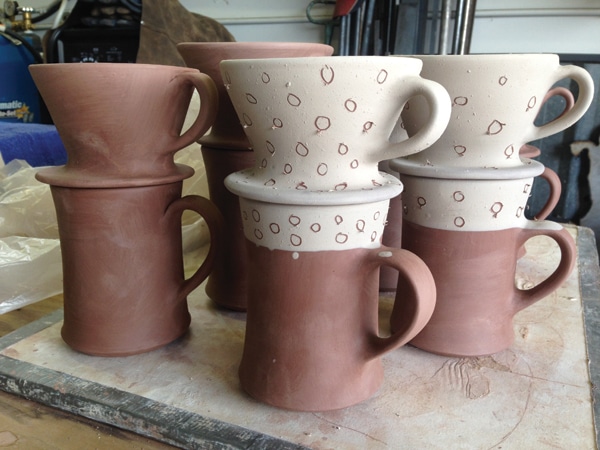
Begin your pulls. Unlike other pots, for the pour over, you want a wide base at the bottom so that your funnel can rest on the rim of a mug. To make this happen, start your pulls about 1.5″ above the bottom of the clay (We’ll work on that later). You want to pull the clay up into a funnel shape so that the walls are about a 70 degree angle. I find that the Sherril Mudtools Y2 rib works great for smoothing clay and shaping up the walls of these pour overs. Factoring in shrinkage, you’ll want your funnel to be about 3″-4″ tall. (Don’t forget to compress your rim during your pulls!)
Step 5:
Work on the base. Move your fingers back down to that 1.5″ base you left before you started pulling. Putting your index and middle finger of each hand at the base of the funnel, and at the bottom of the pot, pinch the base and pull outwards so that it flattens out. Keep in mind the typical mug opening is about 3-4″ wide, and you’ll need this pour over to sit on top of that. Once at the desired width, use your rib to push the base back so that is almost flat on the wheel or bat, and the surface is smooth. Leave the base out at a slight angle so your pot is easy to wire off, things will flatten out during drying and in the kiln.
Step 6:
Do your final touches, wire off the pot, or remove your bat and let it dry! Don’t let it get too far along, wait until it is leather hard coming back to trim and add your handle.

Step 7:
Trimming. Once the pour over is leather hard, flip it upside down on the wheel, center it, and secure it. You can use lumps of clay, to make sure it doesn’t slide around, or use a Giffin Grip trimming tool if you are feeling fancy. I like to use a Sherril Do all tool for my trimming work, I find that the shape of it will help me get any angle I need. Take off any excess clay, and leave about a 1/4″-1/2″ base. Optional: when trimming, leave a small foot on the base of the pour over, this will rest on the inside of a mug and keep it from sliding around too much.
Step 8:
Add your pour hole. Using a clean up tool (I like the Xiem XST 08 because it’s a nice heavy duty steel) cut a hole FROM THE INSIDE OF THE FUNNEL. You want your hole to be a miniature funnel itself, if you cut from the inside, the hole will direct the flow of coffee into your mug. If you cut the hole from the bottom, then some drips will flow along the base of the pour over and out the sides of the mug.

Step 9:
Add your handle. After you are finished trimming, go ahead and add your handle, you can make a slab built handle or pull one. Either way, attach your handle between the top of the funnel and right above the base of the pour over.
Step 10:
Wait, Fire, and Glaze. Once it’s dried out, load your pour over in the kiln and bisque fire it. After that, it’s up to you how you want to decorate it, just be sure to use a food/liquid safe glaze on the inside. Fire with glaze again and its ready to use! Congrats, you can now enjoy a delectable coffee shop style cup of coffee in the comfort of your own home!
