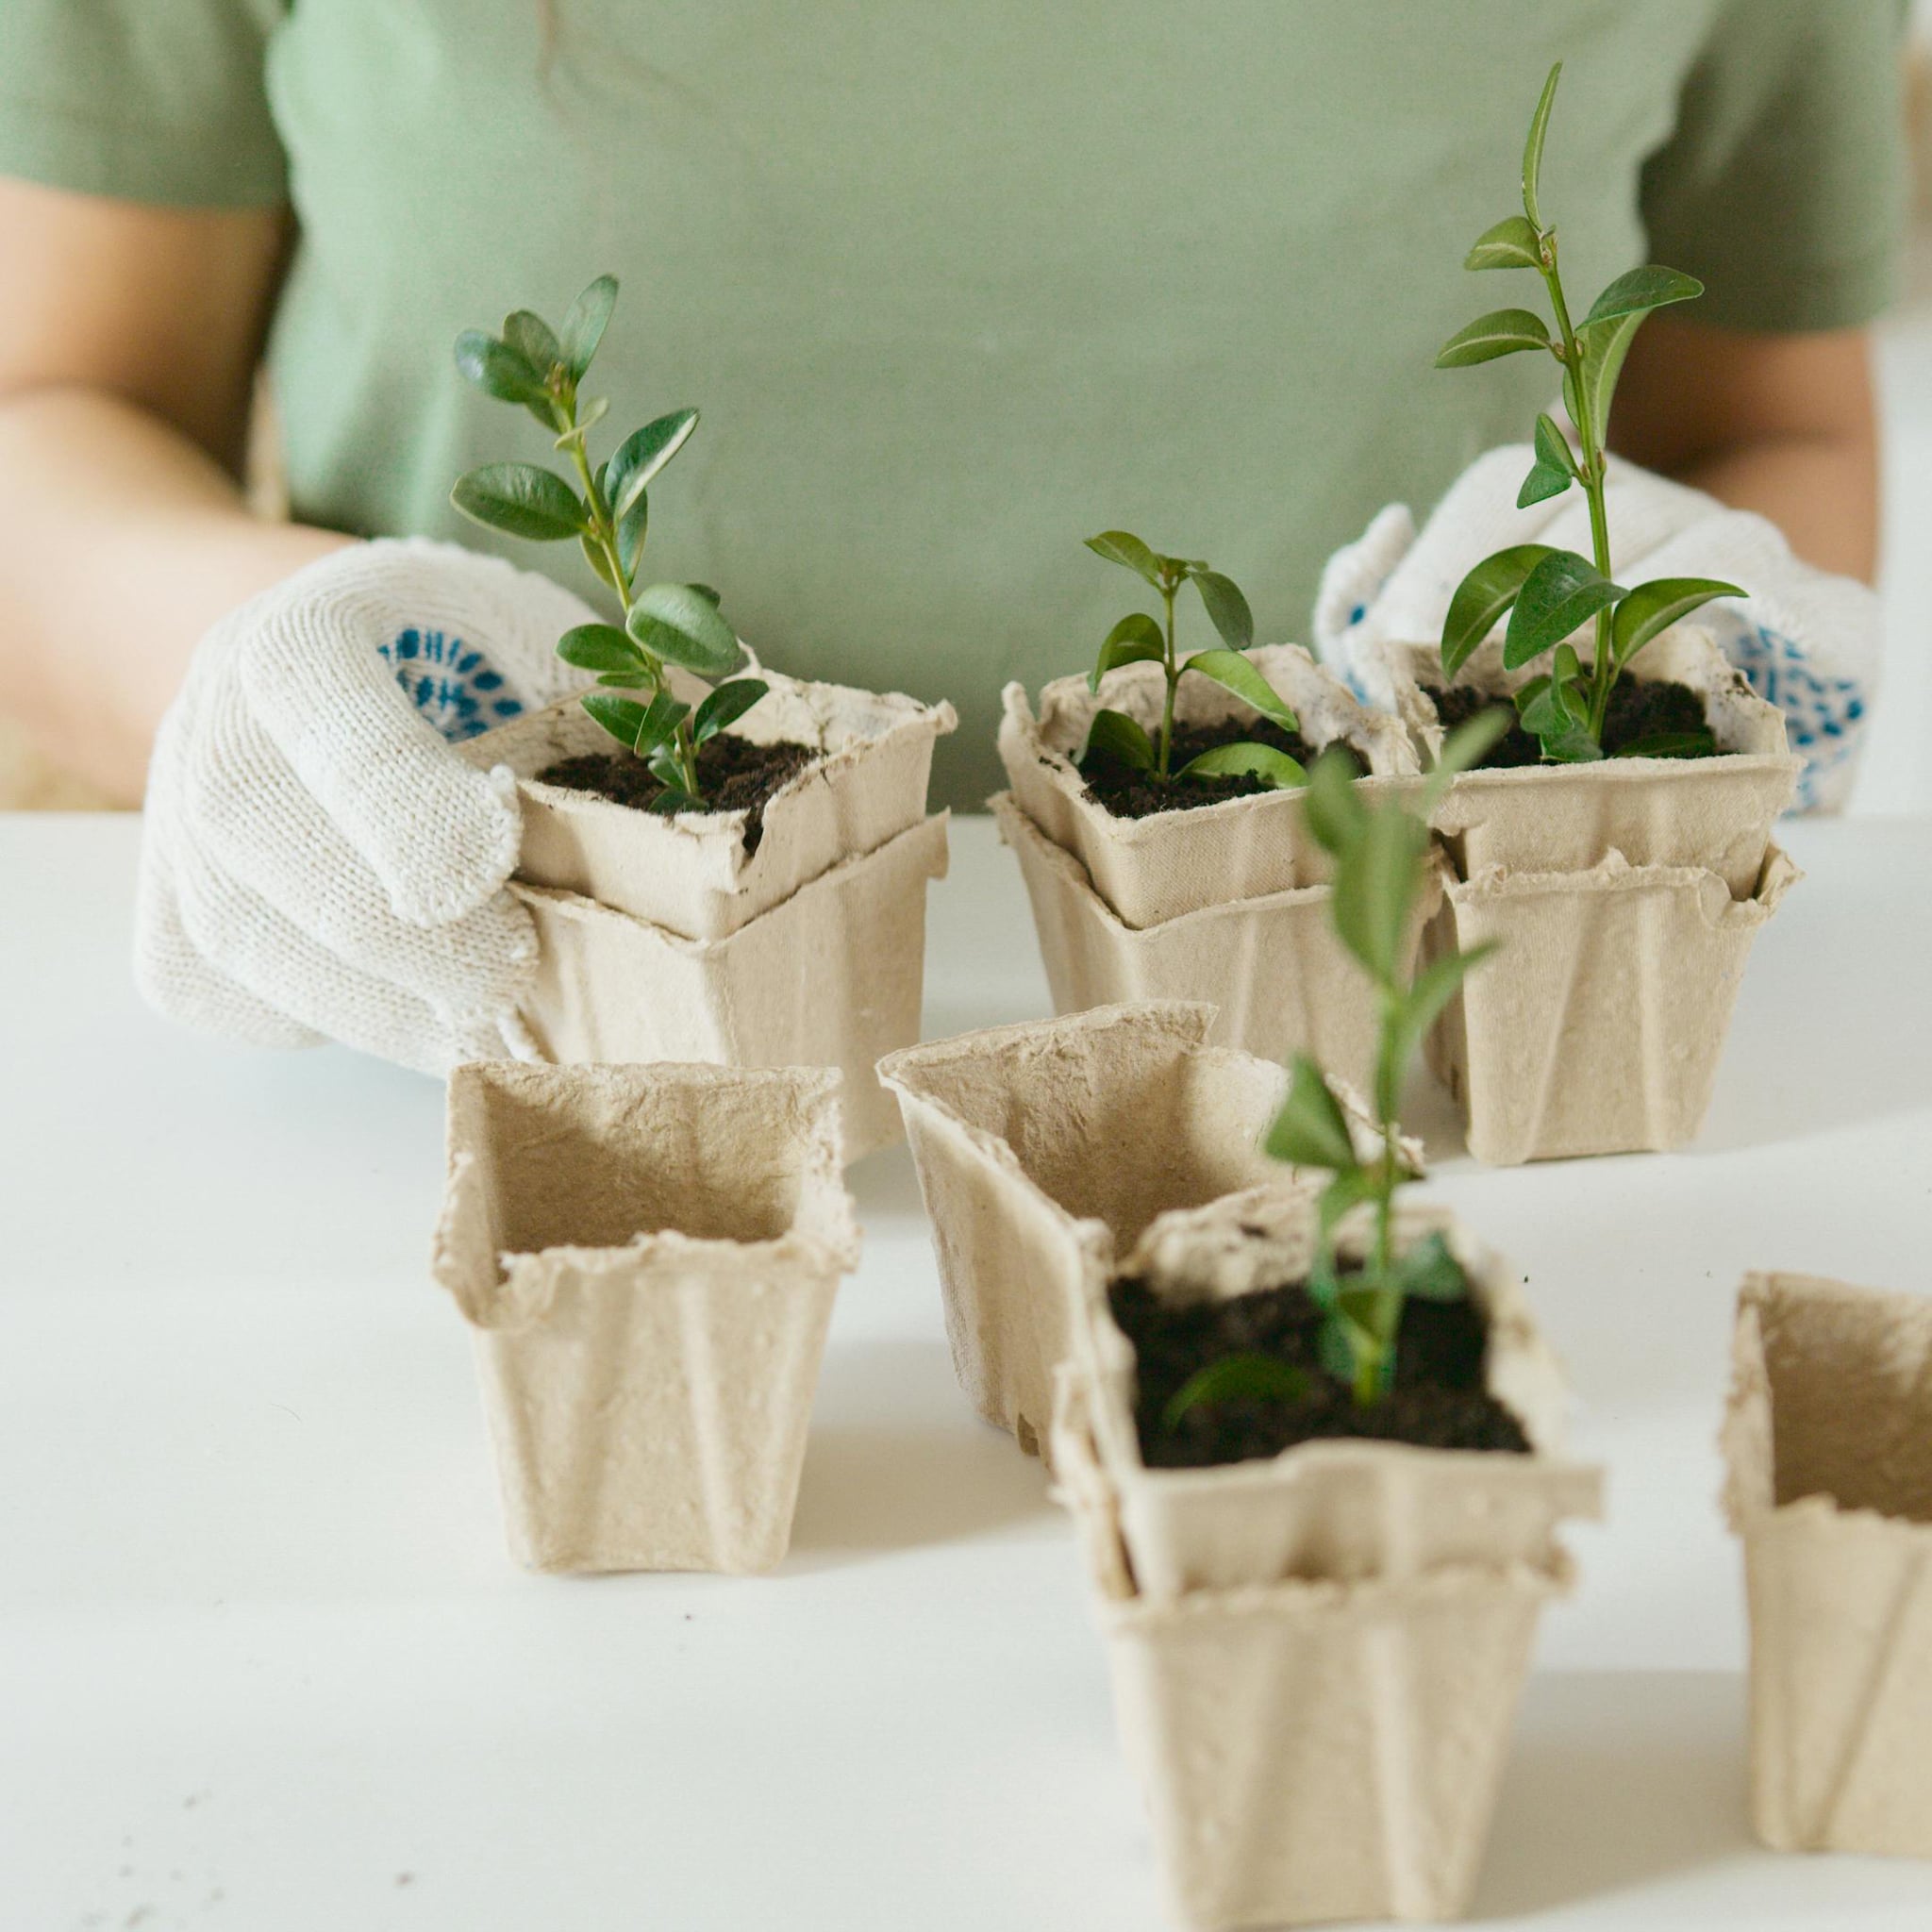
As the days grow longer and the chill of winter begins to fade, it’s a sure sign that spring is just around the corner. With the promise of warmer weather comes the excitement of tending to our gardens and watching new life bloom. To kickstart the season and add a personal touch to your gardening routine, why not try your hand at crafting clay plant tags?
Supply List
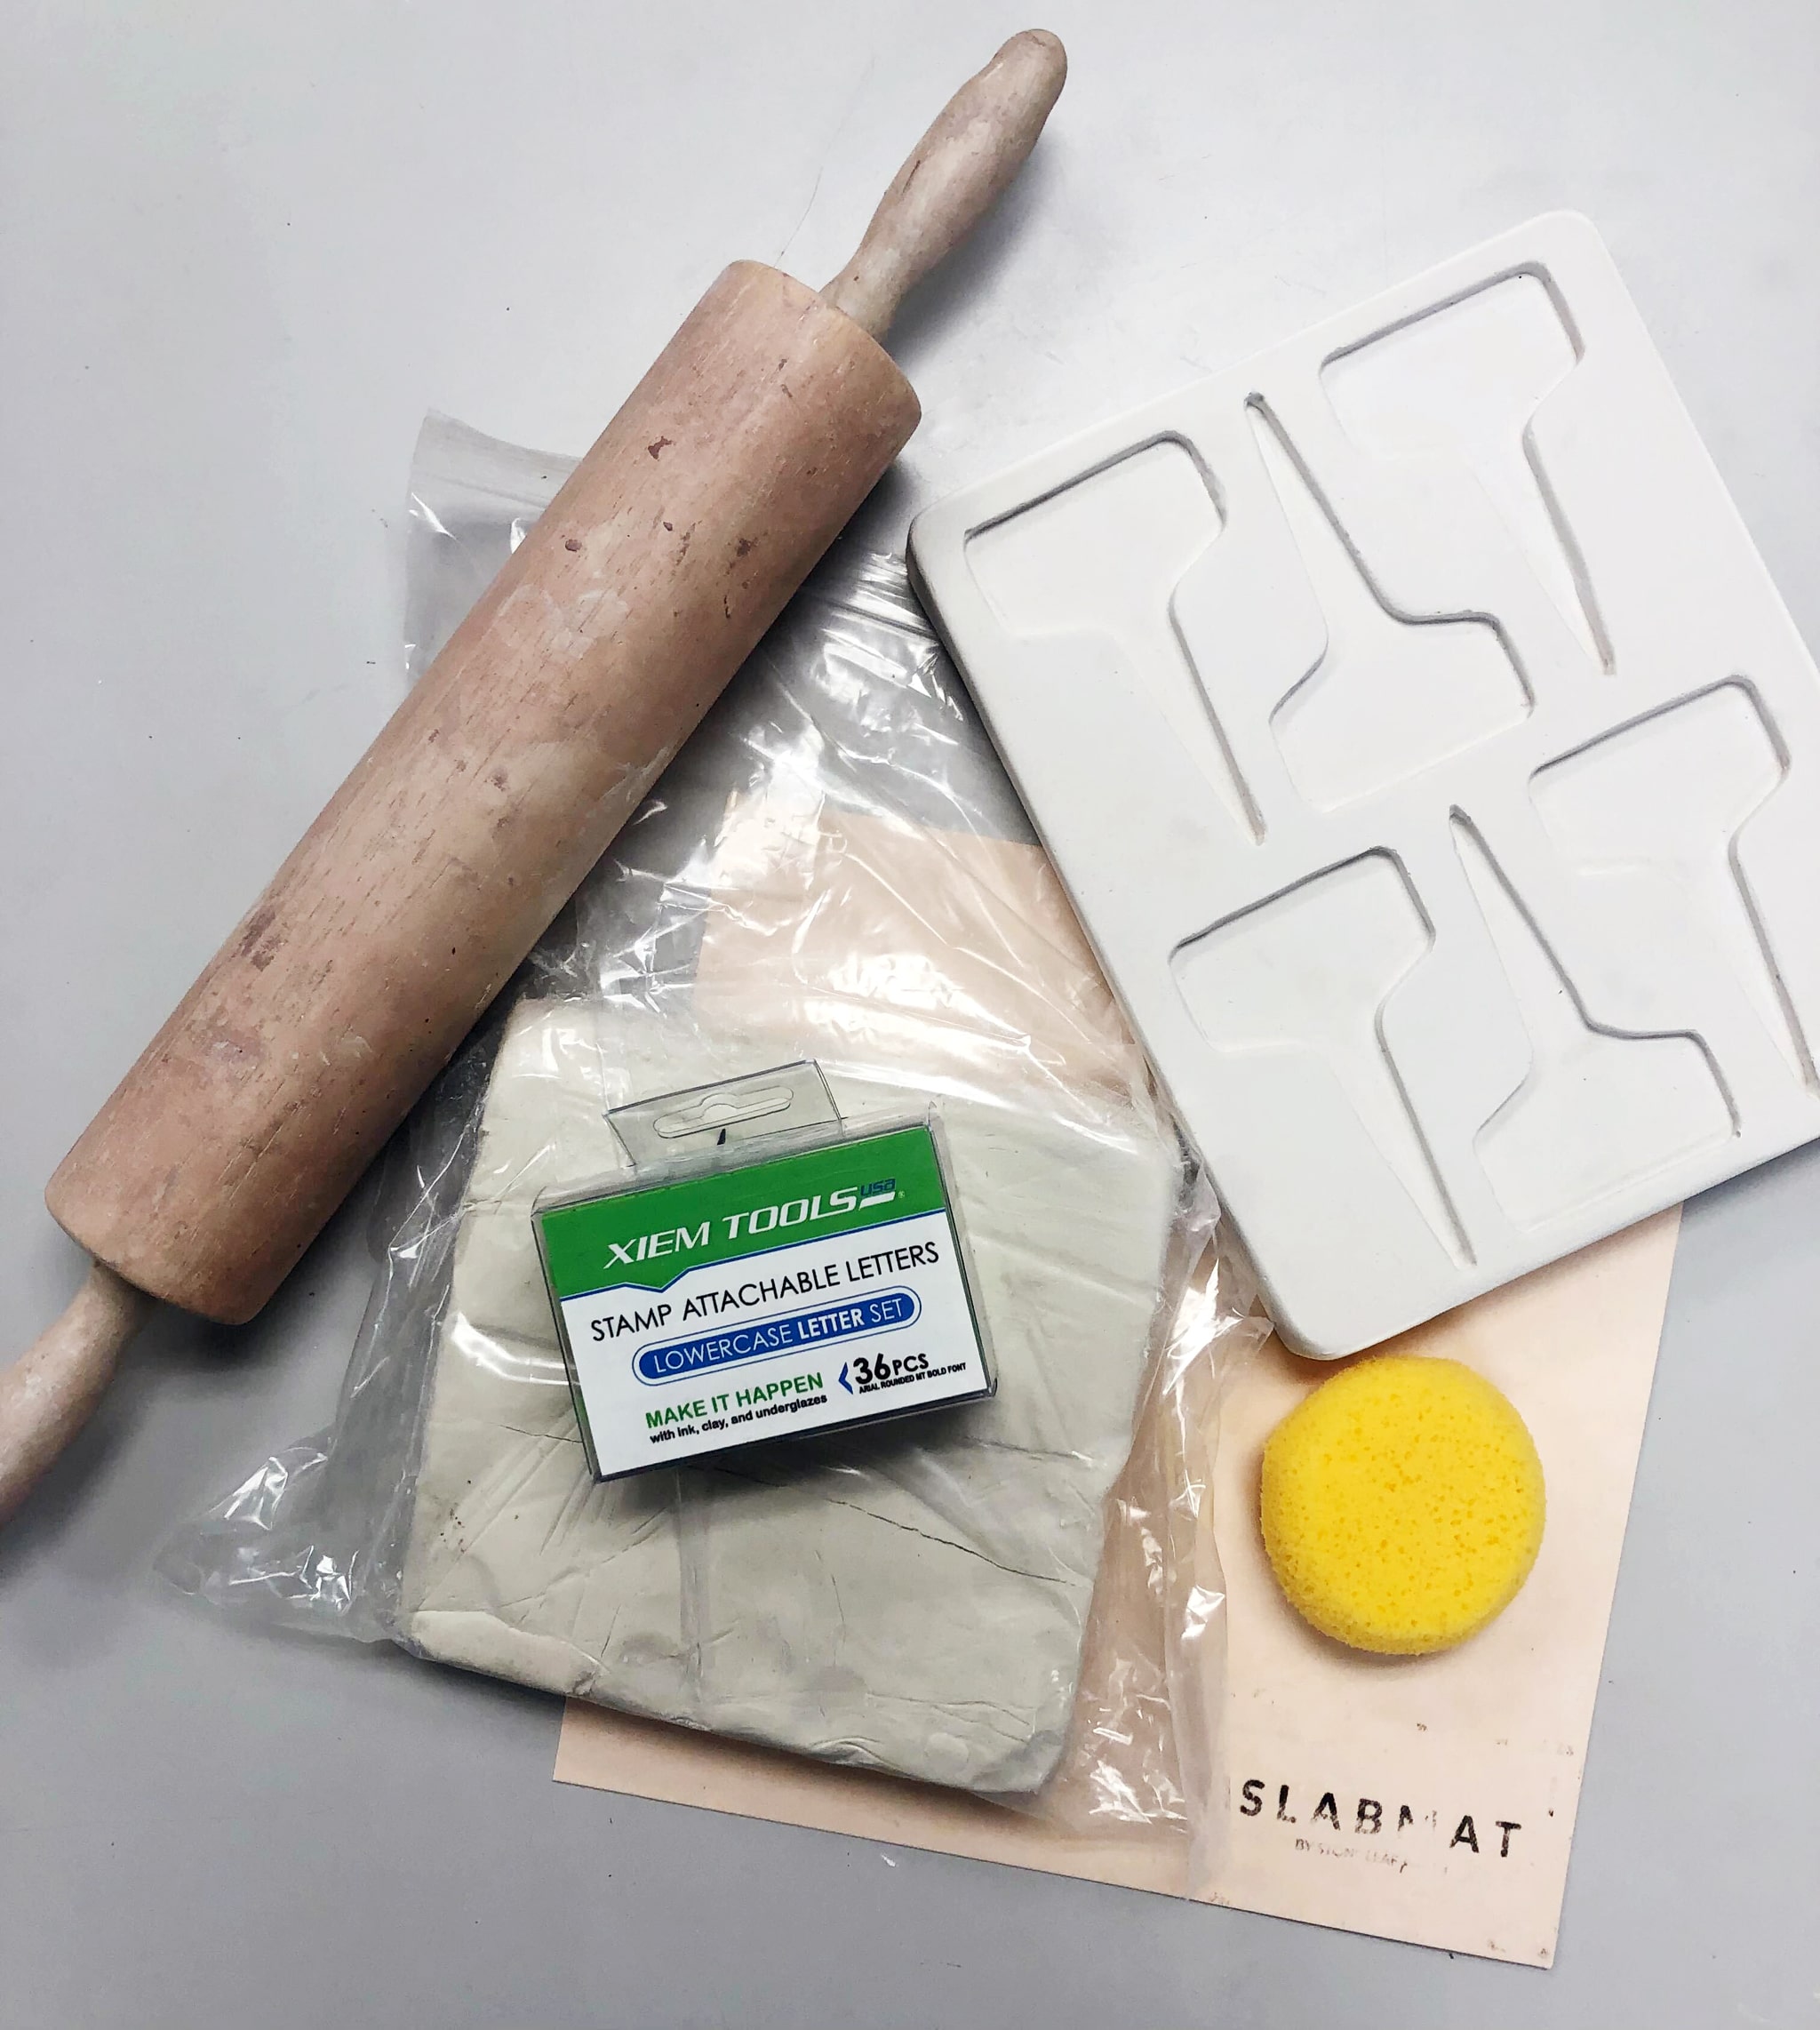
Required
- Preferred Clay
- Garden Tag Sprig Mold
- Xiem Attachable Letters Stamp Set
- Rolling pin (or slab roller)
- Needle tool
- Glaze and Underglaze
- Brushes
Optional
- Rubber stamps or carving tools
- Sponge
- Sgraffito tool
Instructions for Clay Garden Tags
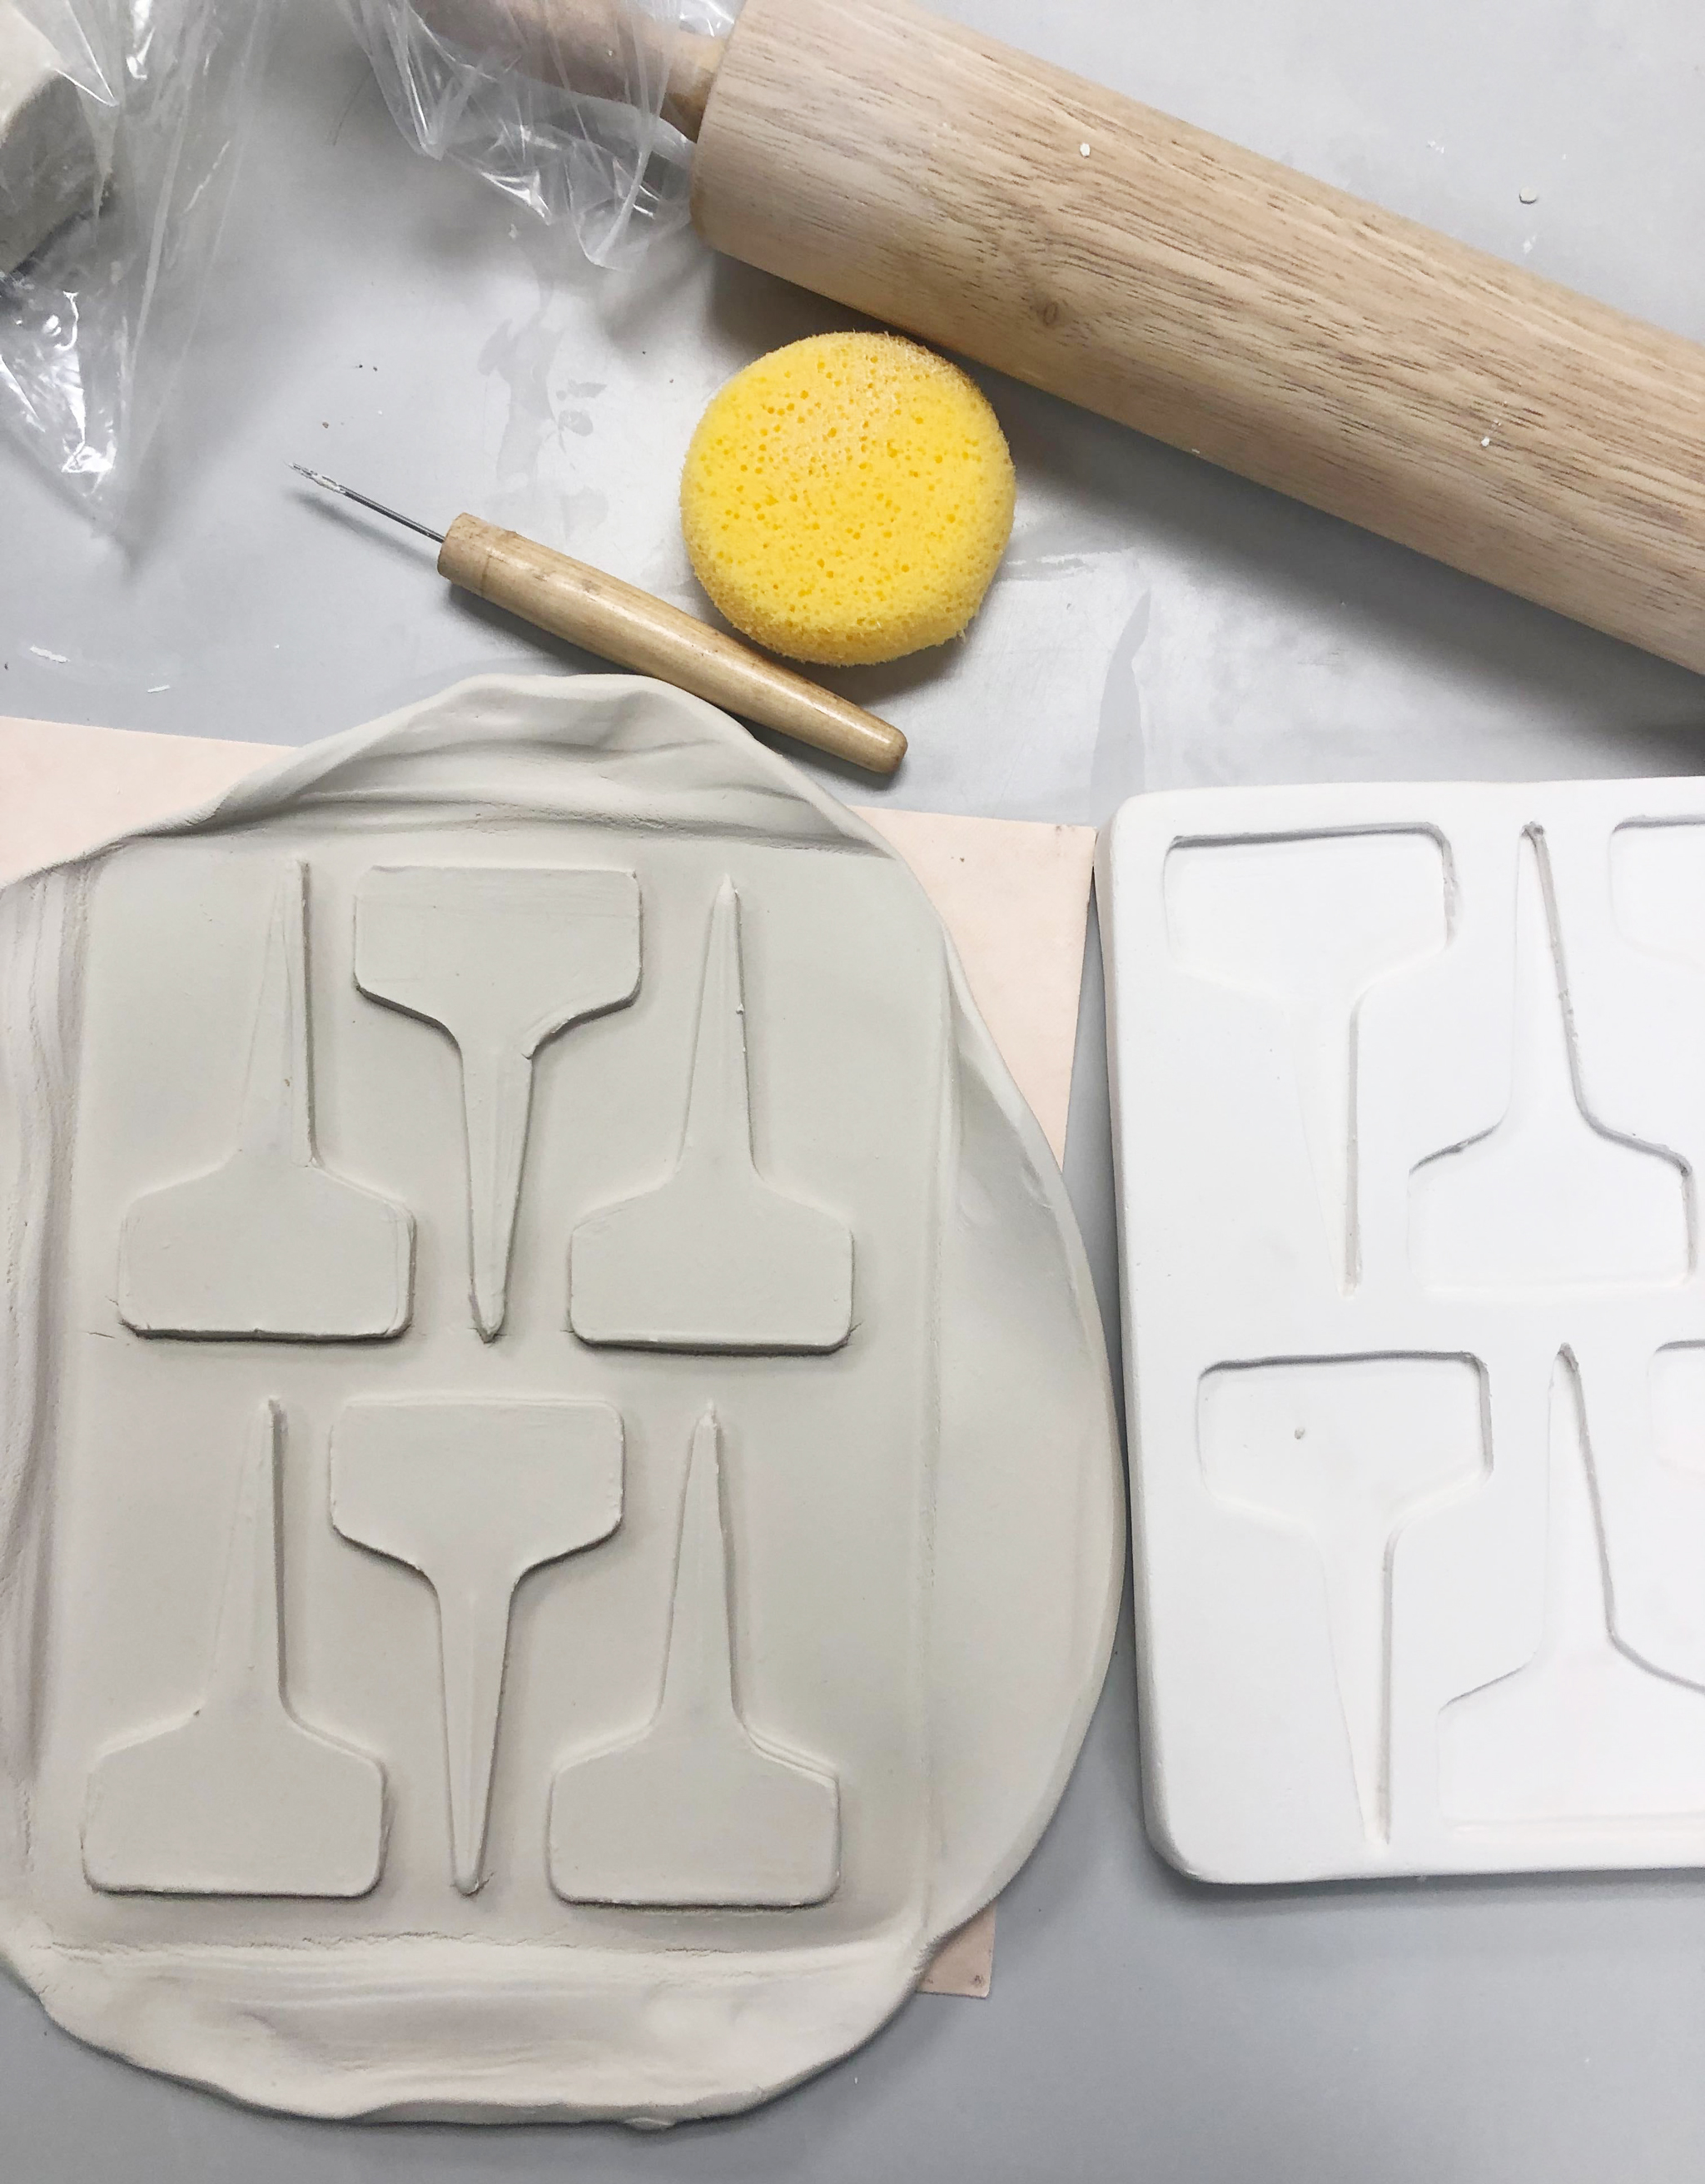
Preparing Your Clay and Mold
- Prepare Your Clay to the appropriate consistency for working with molds. It should be soft and pliable but not too wet.
- Prepare the Sprig Mold by dusting the inside with a clean cloth. Make sure it is clean and free from debris.
- Roll out your slab(s) of clay to the desired thickness using a rolling pin or slab roller. You can make it as thin or thick as you would like.
Forming Your Garden Tags
- Press your clay into the mold by laying your pre-rolled slab on top of the sprig mold and roll the slab so that it is pressed into the mold. Alternatively, you could take a bat and evenly press it firmly over top to push the clay into the mold.
- Carefully lift the slab off the mold and lay it flat on a slabmat or preferred work-surface.
- Trim away the excess clay around the garden tag. Use your needle tool for the best results.
- Gently smooth the edges with your finger or a sponge, keeping them flat. Be careful not to move the tags too much until they are dry.
Decorating & Firing Your Tags
- Stamp the tags using the Xiem Letter Stamps. Decorative stamps can also be used to customize the tag a bit more. Making changes to the form or adding design and textures should be done during the leather-hard stage.
- Decorate with underglaze before or after bisque firing. This step is optional.
- Bisque Fire to cone 010-04 depending on your clay.
- Glaze your tags. This step offers the best opportunity to make the tags your own so go wild!
- Fire: Fire your garden tags to appropriate cone to ensure they are vitrified and can withstand the weather if they are outdoors.
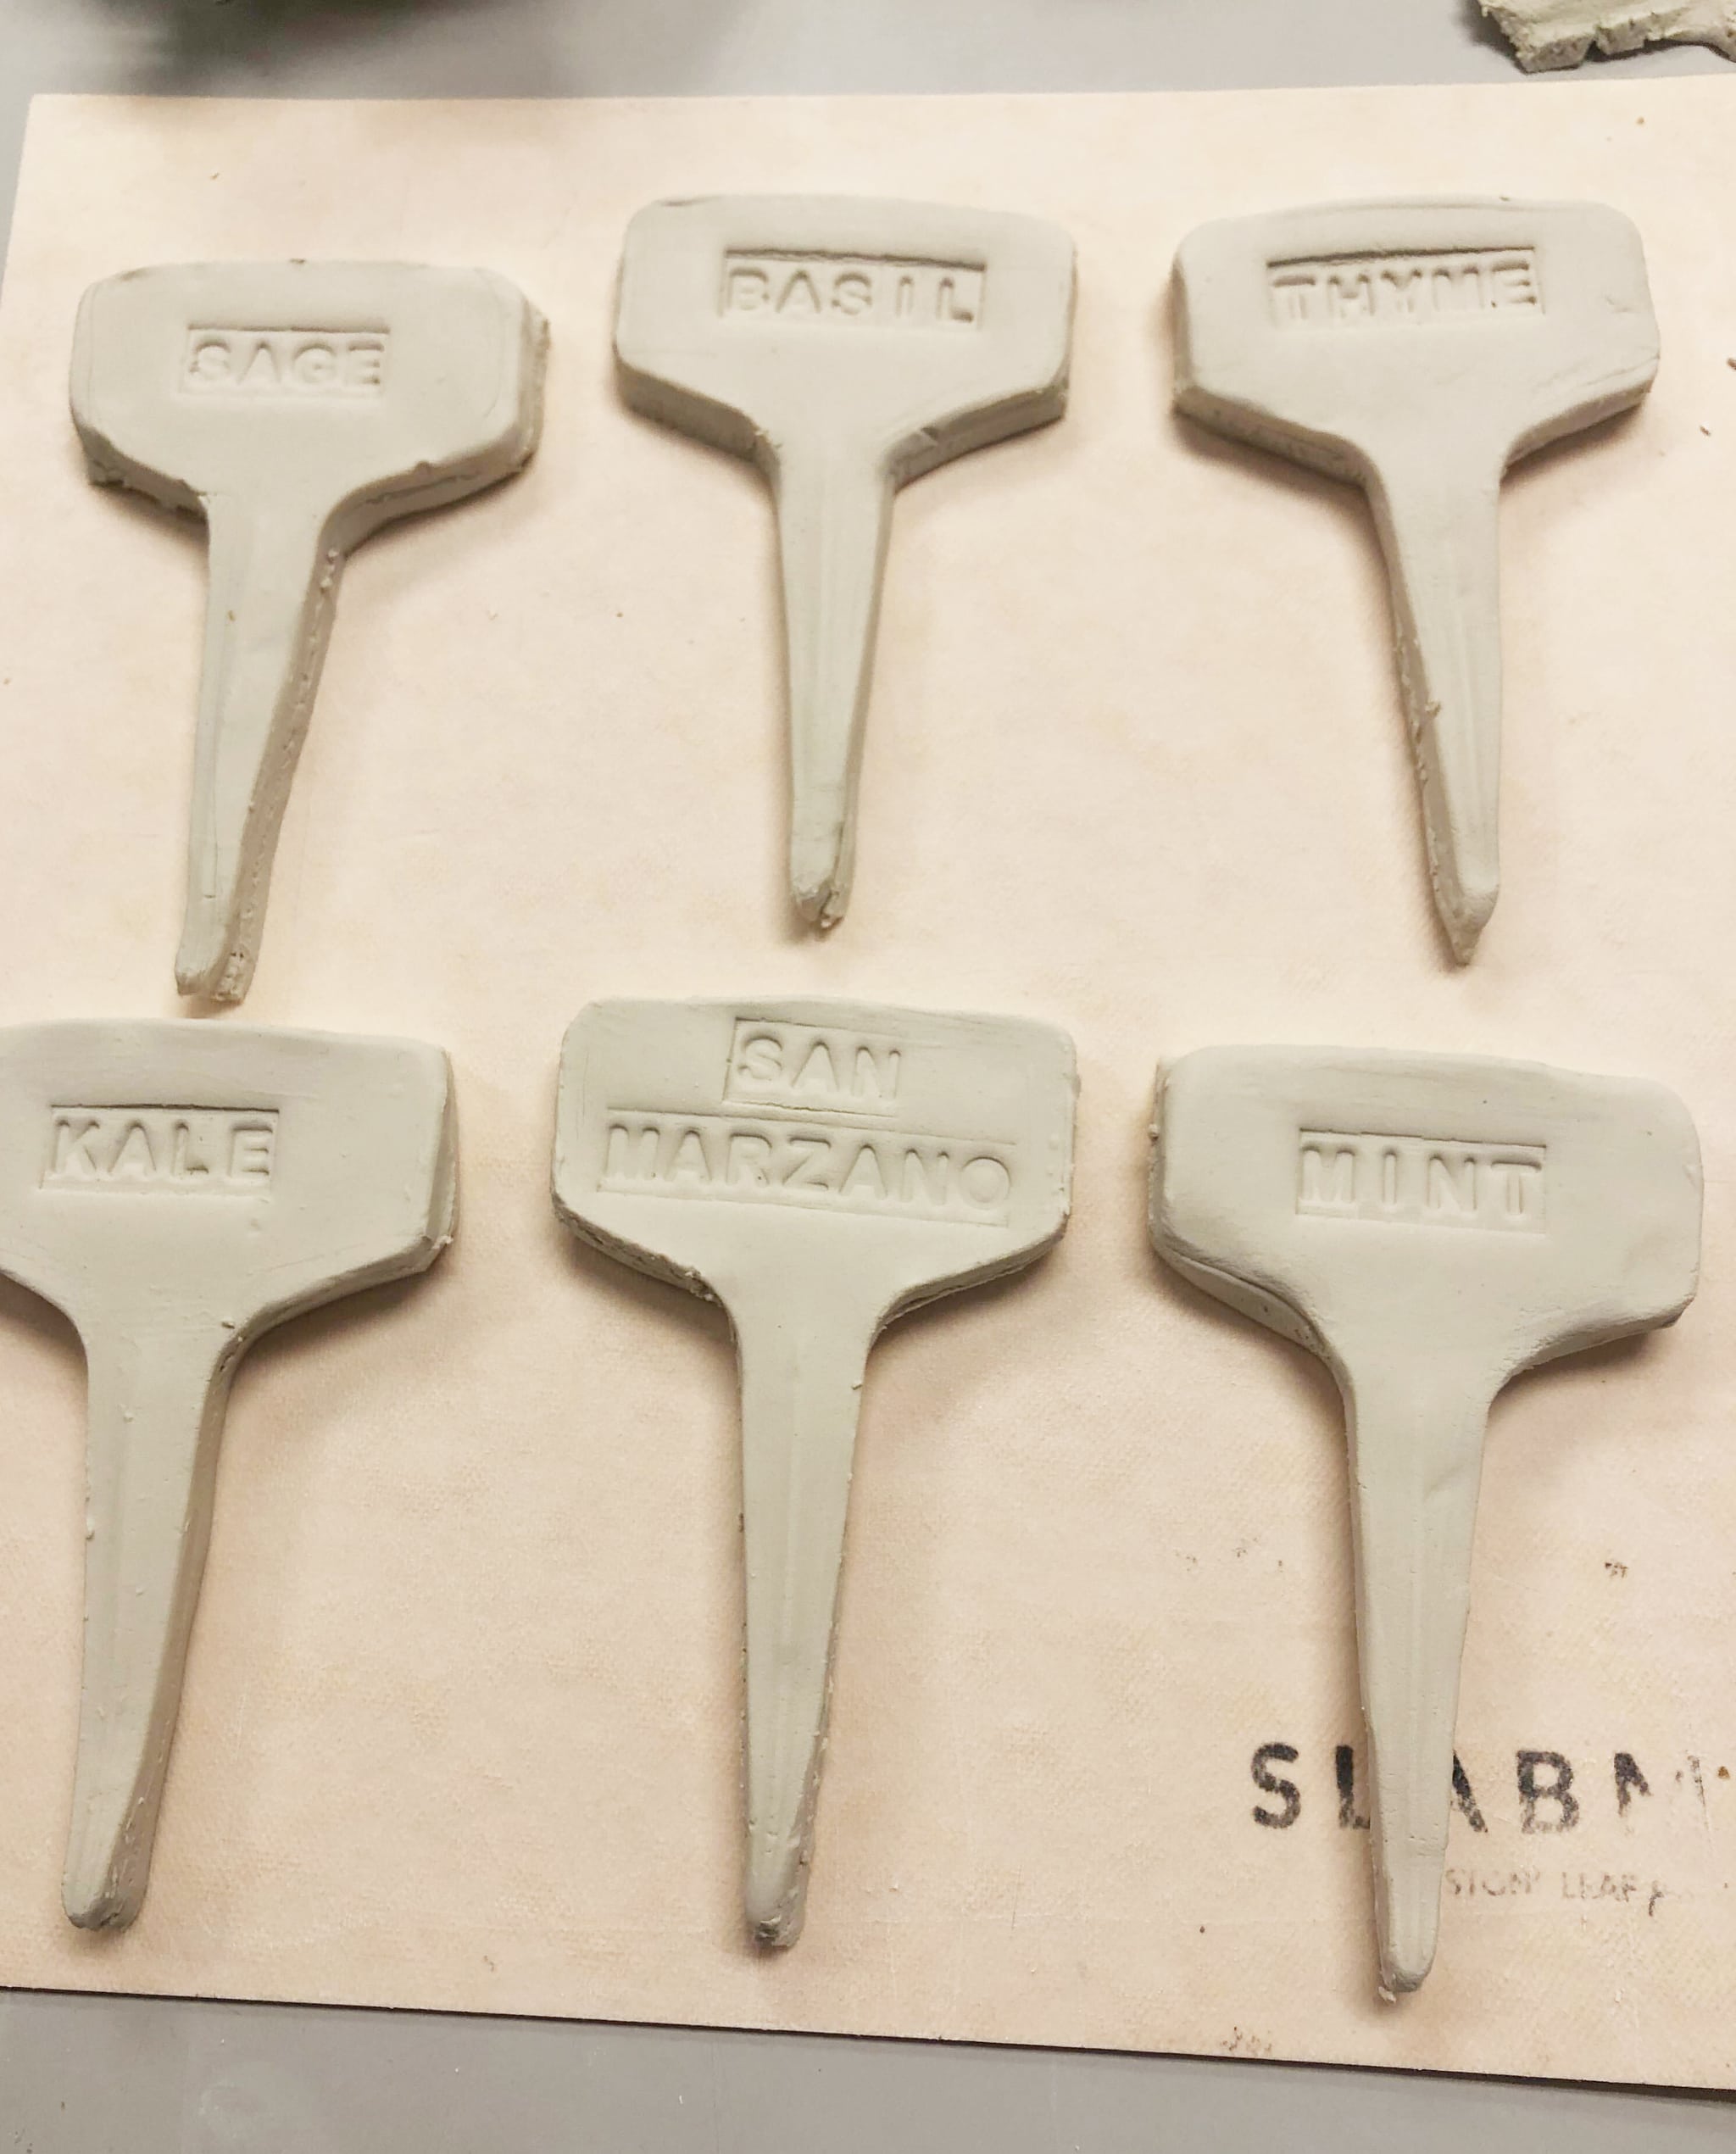
TIP: Brush underglaze over your stamped letters and designs. After your underglaze dries, use a damp sponge to wipe away the top layers, leaving only your letters glazed.
Wrapping up our clay garden tag project, remember these tags are not just practical; they’re personal. Each piece, stamped, painted, or etched, adds a unique touch to your garden, blending creativity with nature. It’s a simple way to make your space truly your own.
We look forward to seeing how your garden reflects your personality through these tags. Share your creations with us on Instagram and let’s inspire a blend of art and gardening. Happy crafting! – Your friends at Clay-King